Hot Pepper Sauce Canning Recipe
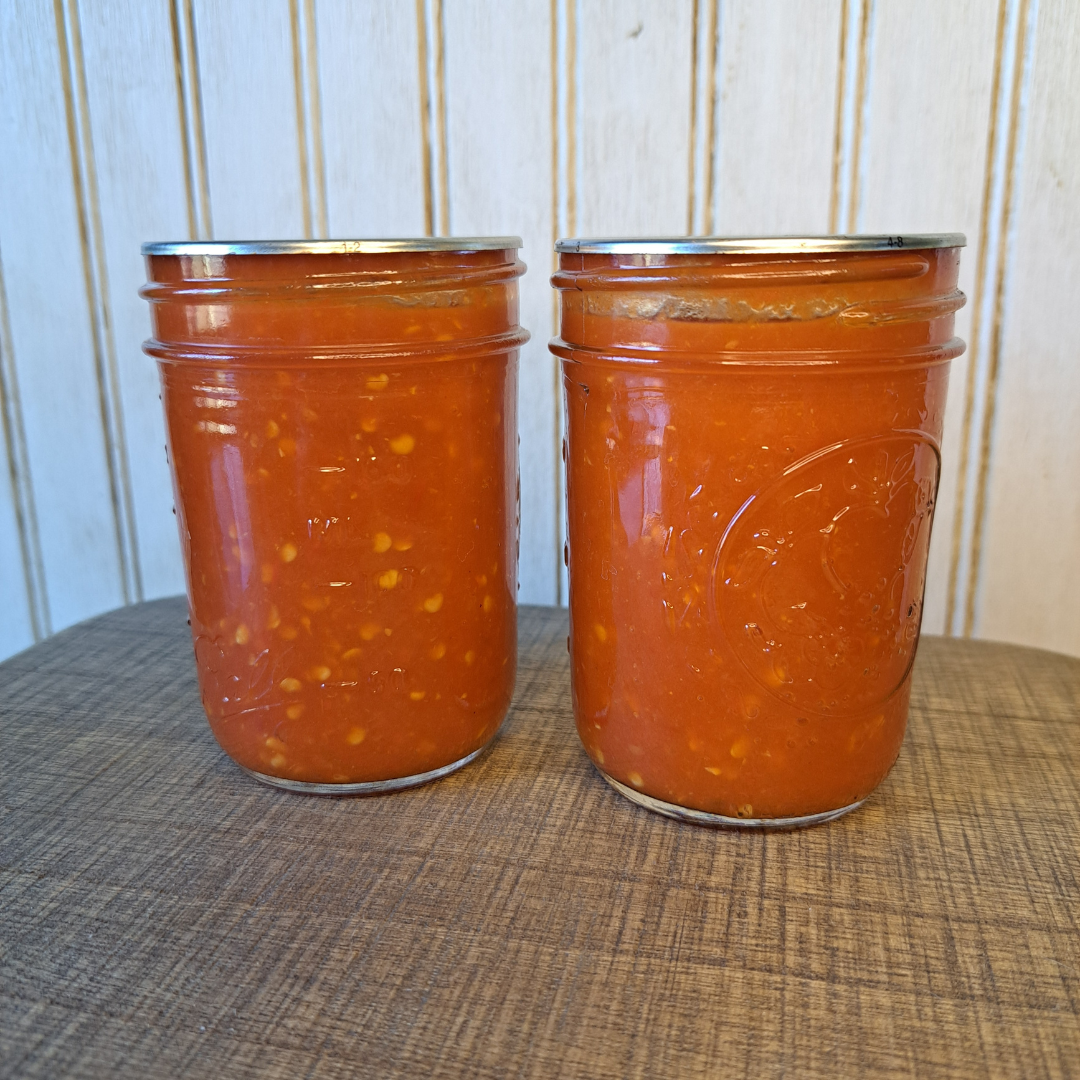
Homemade cayenne hot sauce is delicious on eggs, in chili, or as a spicy condiment.
Homemade cayenne hot sauce is delicious on eggs, in chili, or as a spicy condiment.
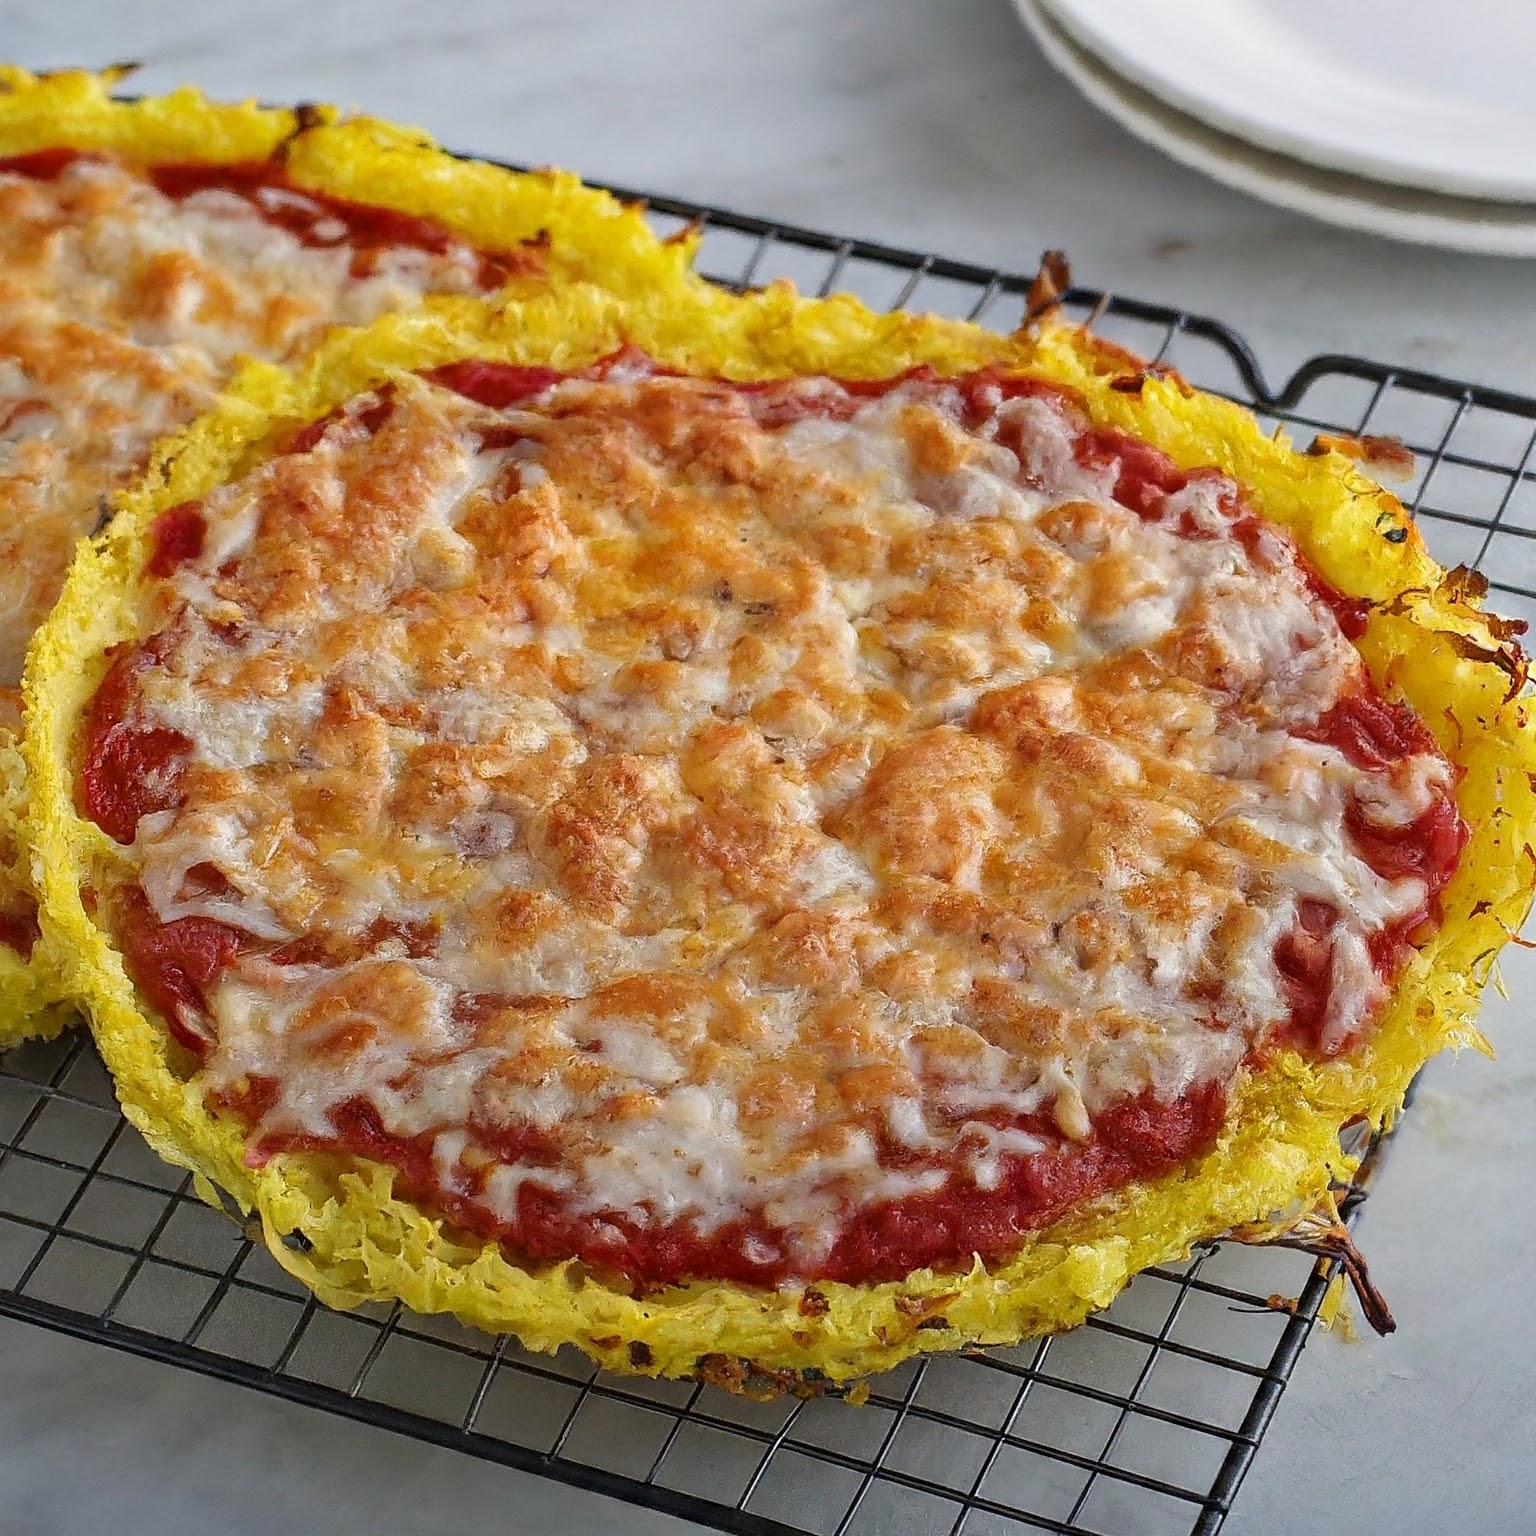
Spaghetti squash in a pizza crust adds moisture and fiber to make a delicious crust that’s lower in refined carbs.
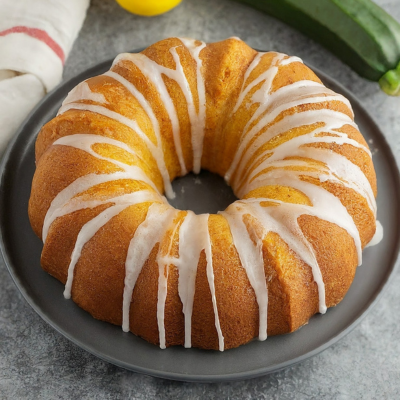
Lemon and zucchini combine to make this wonderfully moist, delicious and east to make cake that’s perfect for summer.
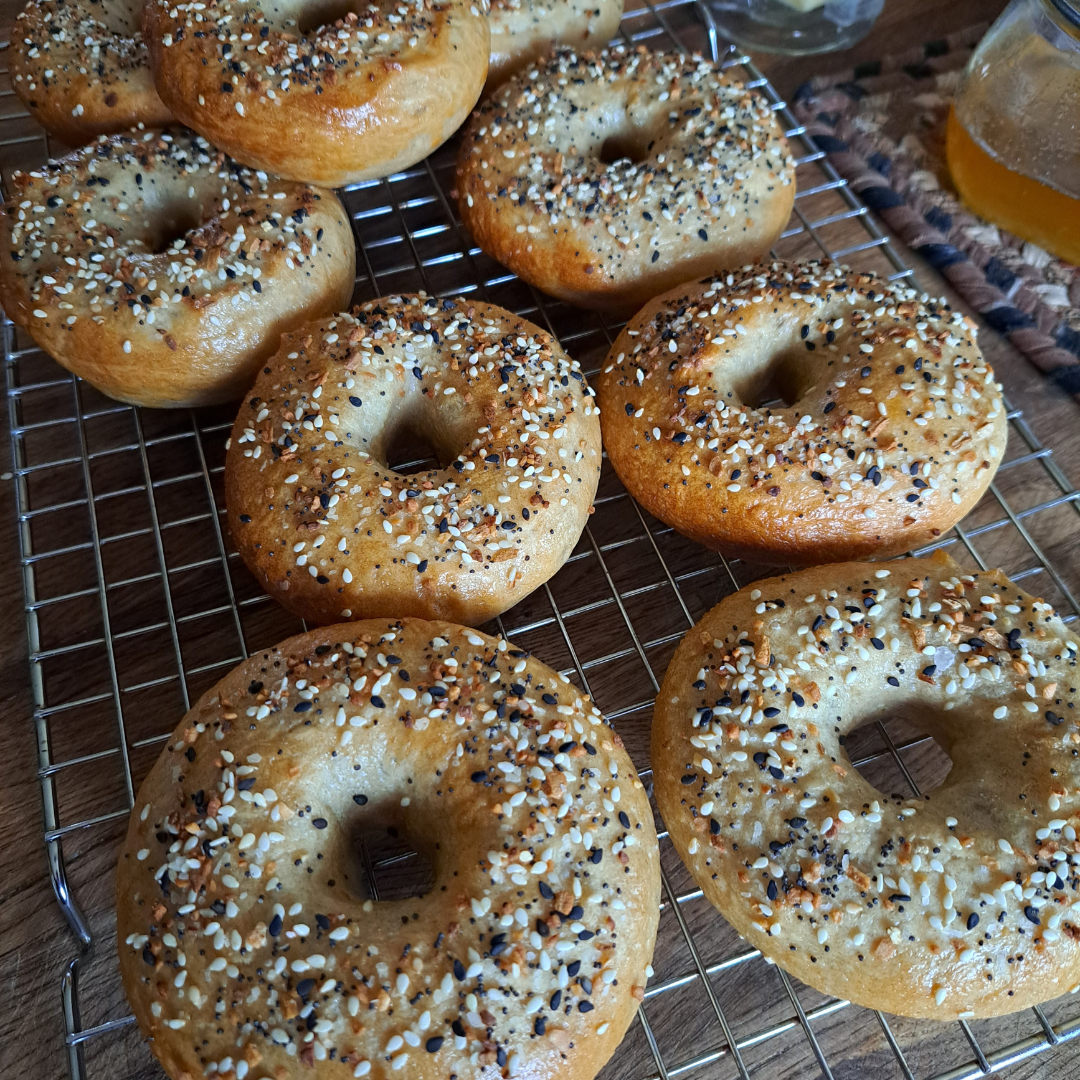
I developed this recipe as a low-sodium alternative to any other bagels I could find at a grocery store. Feel free to increase the salt amount to ½ teaspoon if you prefer. This recipe makes 9 bagels.

Garlic varieties will fall into two main types: hardneck and softneck. You can tell the difference easily by looking and feeling for a rigid, pencil-like stalk in the center of the garlic bulb. The hardneck varieties will have this stalk. Softneck varieties will have paper-like skins covering the cloves within the bulb. Grocery store garlic will be a softneck variety because it can be stored for up to 18 months. Hardneck varieties will generally only store well for up to 9 months.
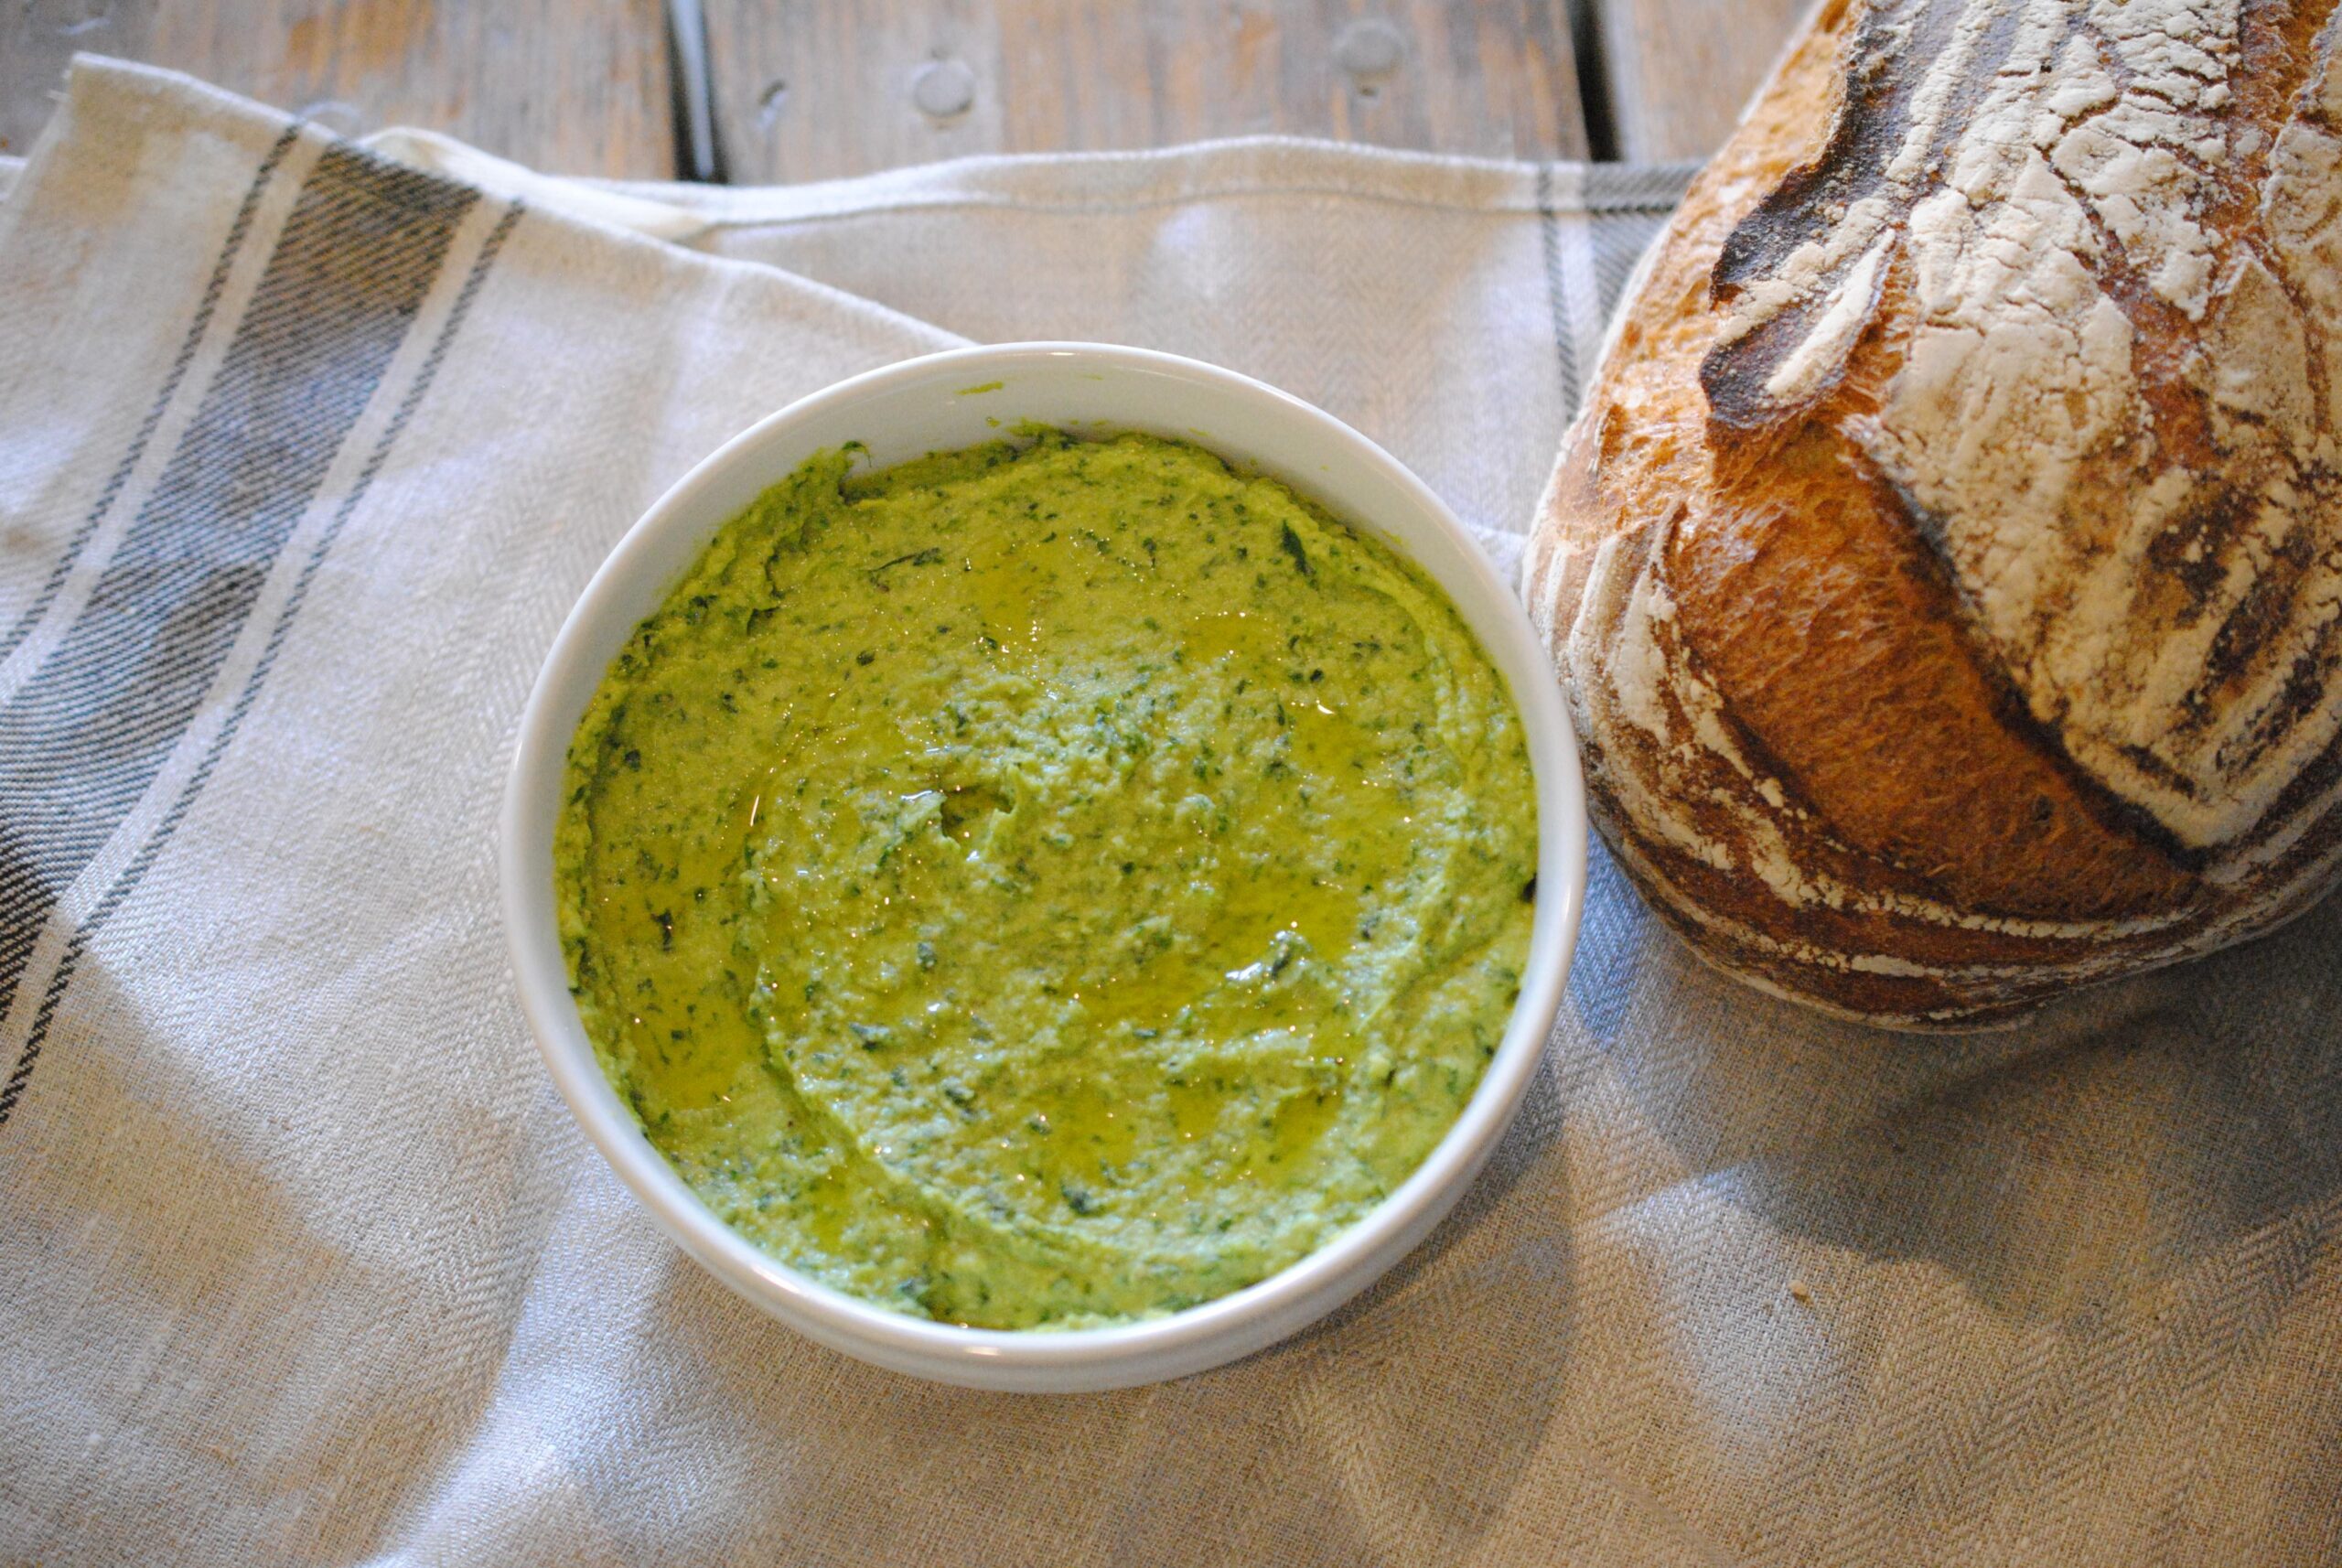
I created this quick and easy garlic scape mock hummus recipe as a delicious snack for dipping with pita chips or bagel chips. Unlike a traditional hummus, this garlic scape hummus recipe uses sunflower seeds instead of garbanzo beans (chickpeas) as the base. You could substitute the sunflower seeds with garbanzo beans if you prefer.